
Please note that this blog post contains affiliate links. This means that if you click on a link and make a purchase, we may receive a small commission at no extra cost to you. This helps support our blog and allows us to continue creating valuable content for our readers. We only recommend products or services that we have personally used, and found to be of high quality. Thank you in advance for your support!
One exciting feature in Inkscape is that it offers the ability to create eye-catching text effects. In this tutorial, we will explore how to achieve the popular retro wavy text effect using Inkscape.
So let’s dive in!
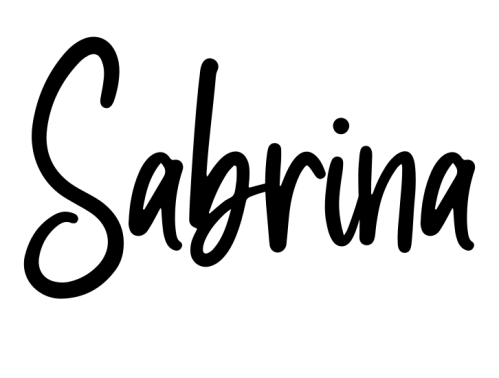
FUN RETRO FONTS
Before getting started with the retro text effect in Inkscape, we need to choose a fun retro to use.
Here’s a list of a few fonts that you might like to use:


Once you have chosen your font, open Inkscape
On the Inkscape canvas:
1. Select the “Text” tool
2. Select your font
3. On the canvas, click on where you want your text positioned:

Type your text, and then convert the text to a path:
(If you are using Inkscape 3, it’s “Path → Union”)
(If you are using a version below Inkscape 1.3 then it’s “Path → Object To Path” … “Object → Ungroup”… “Path → Union”)

Go to “Path → Path Effects”, and select the “Lattice Deformation” path effect:

Use the “Edit paths by nodes” tool or press “N” on your keyboard.
A lattice grid now appears, and you will be able to manipulate the grid by using the control points which are the diamond-shaped nodes:

You can now click on each control point, and move them up and down to create your wave text effect (be careful to just move the diamond-shaped nodes rather than the path nodes):

Once you are happy with your wave effect, lock in your effect by going to “Path → Object To Path”

Now you are all done!
Hopefully, this post has been helpful in showing you how to create your own wavy text effect for your projects.
For more fonts, simply visit Creative Fabrica!
Before you go …
‘The Inkscape Guide For Crafters’
Fancy taking your Cricut crafting to the next level? This quick guide is designed to help you create stunning, custom SVG designs with ease. Whether you’re a beginner or an experienced crafter, this guide will provide the Inkscape basics so that you can create your own custom SVGs using the free graphic and design program.
If you are ready to stop buying SVGs online, and make your own instead then you are in the right place!

https://www.etsy.com/uk/listing/1736655324
✔ Inkscape Guide For Crafters
Topics include:
- Using Inkscape For DIY Crafting Projects
- The Advantages Of Using Inkscape
- Start Designing With Inkscape
- The Inkscape Canvas: Explained
- The Inkscape Toolbox Bar
and more!
✔ 30+ pages
✔ Full-colour PDF document
✔ Digital Download
✔ Printable
Happy crafting!
See you next time!

- UNLOCKING THE POWER OF SVGs: Understanding their importance in the DIY crafting world
- MASTERING SVG DESIGN: The top software and programs for professional results
- DESIGN LIKE A PRO WITH INKSCAPE: Step-by-step instructions for downloading and installing
- THE ULTIMATE BEGINNER’S GUIDE TO INKSCAPE: Learn how to create stunning vector graphics
- MASTERING THE ART OF INKSCAPE: How to align your canvas with your Cricut mat for perfect cut-outs
- MAXIMIZING YOUR DESIGN POTENTIAL WITH THE INKSCAPE TOOLBOX BAR
- DESIGNING A HEART SVG IN INKSCAPE: A step-by-step guide
- DESIGNING WITH INKSCAPE: How to create stunning text SVGs
- SVG TROUBLESHOOTING 101: How to open files displaying as web icons
- INKSCAPE PATH OPERATIONS: The Ultimate Guide for Vector Design Beginners
